


Setting up an Oar Frame
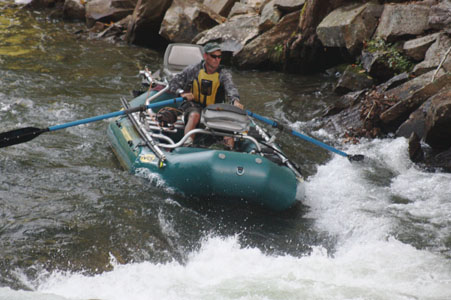
Setting up an oar frame correctly can make a huge difference in efficiency and comfort for the rower. While there are loads of choices on the open market with various brands we will talk about rigging for an NRS Otter. The Otter is perfect for the type of water we work with here in North Carolina and is a commercial-grade raft. The benefit of using the Otter over my drift boat is usually due to water levels or a higher class rating of whitewater.
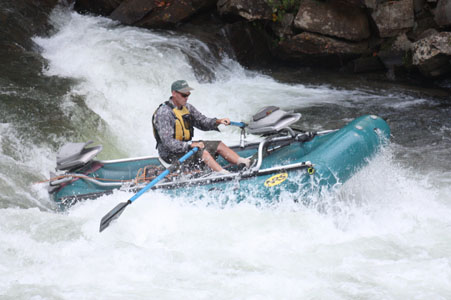
The fly fishing guide school covers setting up an oar frame during the first day of the class. Since your frame is your “office” for the season it is important that it is balanced and efficient to fit you! We cover many other topics during the week but fit is important for a guide.
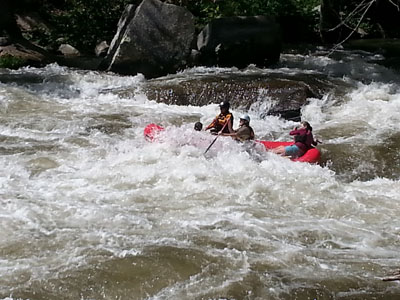
The benefit of using the Otter over my drift boat is usually due to water levels or a higher class rating of whitewater. The raft can go places on the river that my drift boat would have difficulty on low water floats or difficult whitewater locations.
There are plenty of videos on the NRS site for adding HD40 which is the black material you see on the raft for the raft tube wear strips. You will have to glue a piece for the back seat and also for where the anchor swings and hits the boat if you are running white water. The anchor can easily wear a hole in the back of the boat if this is neglected.
Frame Placement
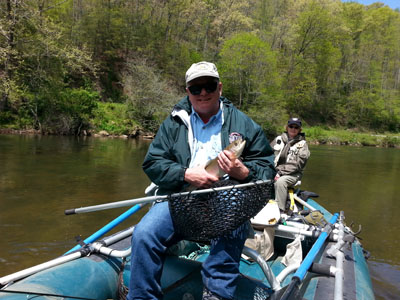
The fishing frame is strapped to the D-rings on the sides of the tubes. You will need four 2′ foot webbing straps to accomplish mounting the frame. You want to catch the ends of the frame on the outside and the inside of the tubes to lock it in place. This keeps the frame from moving forward or backward.
Oar Balance
In the old days, we made the oars balanced which prevented fatigue for long days on the sticks. With the oars resting in the oarlocks you can measure with a bucket of sand until it lifted the blade up. The sand was then weighed on a scale. Lead tire weights work well for easy melting and pouring into the handle end. You can drill a small 3/8″ hole to pour the melted lead into the oar. Nowadays you can also buy them already balanced through NRS.
If you work rowing for a living then it will be well worth your time having the oars balanced. It wastes a lot of energy lifting oars that are too heavy out near the blades. The triceps will fatigue much quicker with non-balanced oars. The comfort factor of rowing the sticks balanced is huge for multiple-day trips.
Oar Length and Spacing
Most oar lengths with blades will be 9.5, 10, and 10.5 feet long. The leverage with longer oars offers greater control but the drawback is they are also heavier to move. Smaller rowers may benefit from the shorter oars to assist in preventing fatigue. Personal preference since all rowers are built differently. Make sure the oars meet with a thumb length of space when they are in the middle position. I prefer the feel of oars wrapped with rope rather than the plastic sleeves that fit into the locks. It is a feel thing for me and they last much longer than plastic.
Frame Alignment
The ability to adjust where the back seat is situated is limited by design for the fishing frame from NRS. You will need to glue on a wear-patch (HD 40) approximately 8″ by 22″ where the rear seat rest. The wear-patch for the anchor mount is approximately 9′ by 14″. The front seat is mounted all the way forward on the frame within a couple of inches from the end of the side rails.
Center the Oar Locks
The boat balance and control works best with mounting the oarlocks close to the middle of the raft. This is easily done by using the middle thwart for reference. The seat distance from the oarlocks depends on your reach as to how far to mount rearward. Rowers come in all shapes and sizes so this will be personal preference.
Refrain from “Oar Right Locks”
There is also a product for the oars called an “Oar Right” which is a plastic sleeve that always keeps the blades at a fixed angle for the blade has to bite with the water. I do not know of any rowers that like them because you lose the ability to feather the blades in the water. The ability to feather the blades is necessary when the boat is outfitted.
Feathering the blades is accomplished by changing the angle of the oar to a comfortable position that you can maintain. The oar right plastic sleeve prevents you from changing the angle of the oar. When the boat is loaded with gear and people it can be well over a thousand pounds. Varying water currents can and will lift you out of your rower’s seat unexpectedly through using oar right sleeves.
Weight Distribution
Now that the frame is all set up there is a bit of a trick loading gear for proper weight displacement. The greatest weight should always be toward the front of the boat. The boat becomes difficult to control when the weight is loaded toward the back. I hope some of these tips help you to set up your oar frame. The next post will address reading water and boat control for your next big adventure!